I built the Minikits 70 cm preamp and had a great time soldering it. Assembly was straightforward, the documentation was clear and simple, and on the bench and in the field the LNA performed exactly as I hoped: about 20 dB of gain on 433 MHz.
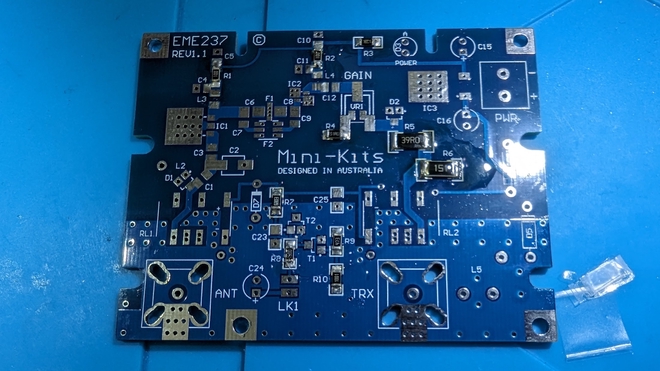
LNA Testing and Bench Setup#
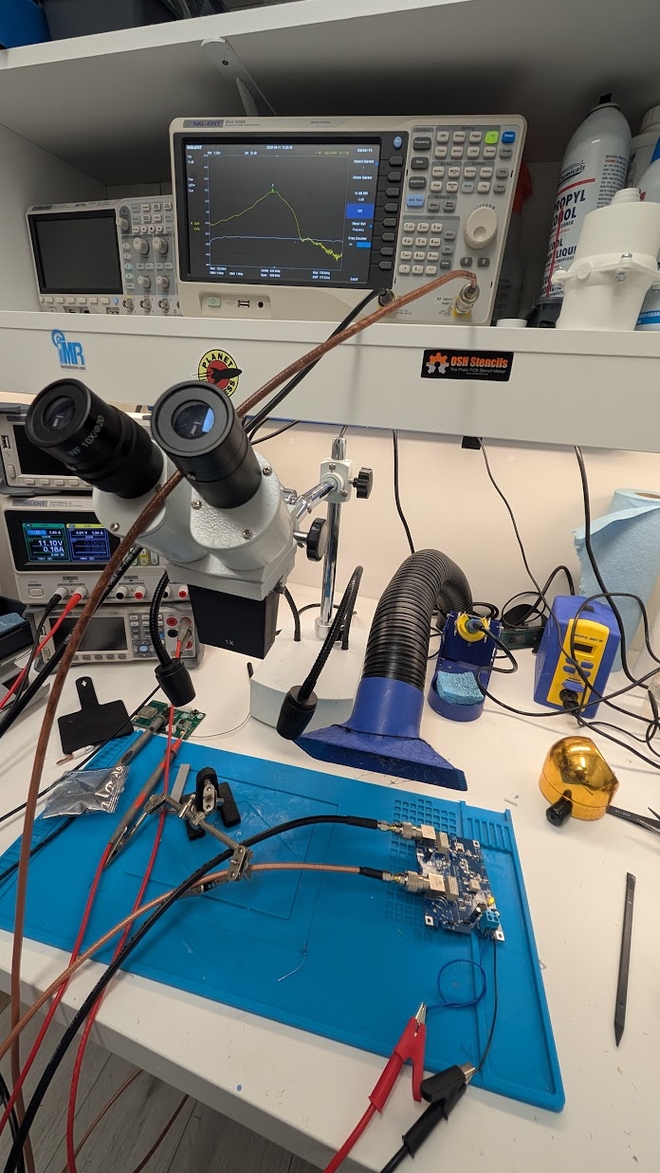
To verify performance and bandpass characteristics, I used the Siglent SVA-1032X spectrum analyzer in Tracking Generator (TG) mode.
Setup#
- Analyzer: Siglent SVA-1032X
- Signal chain:
TG OUT → LNA IN → (−20 dB internal attenuator) → RF IN - Power: Clean DC from a bench supply
- TG Output Level: −20 dBm
- Sweep Range: 100 MHz to 1 GHz
This configuration allowed me to characterize both gain and filtering behavior.
Filter Behavior#
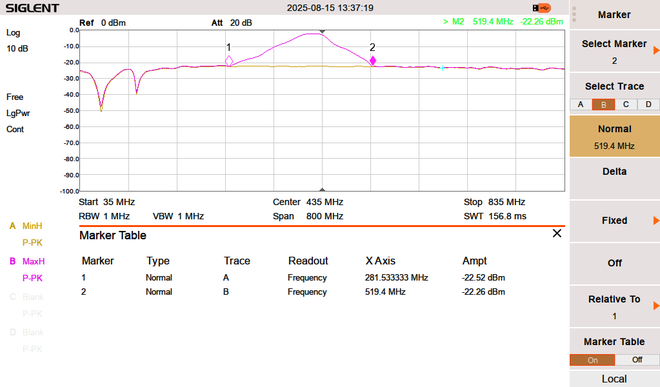
The wide sweep confirms excellent out-of-band rejection and a clean passband in the 70 cm region. No unexpected spurs or harmonics.
Gain#
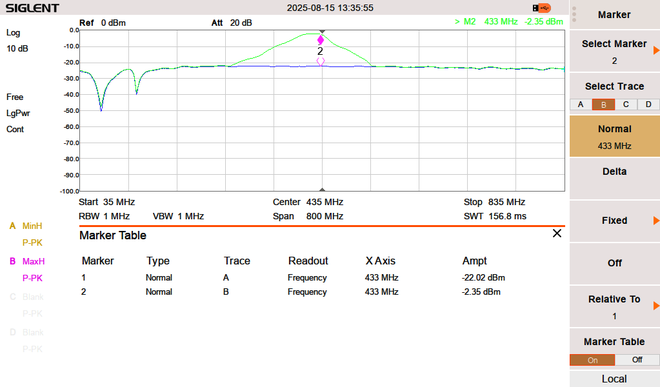
With normalization applied, insertion gain measured right around 20 dB at 433 MHz, exactly in line with Minikits specs.
Antenna system#
For the antenna, I’m currently using an antennas.us 70 cm / 2 m QFH kit. I have mixed feelings about it in this application, and the “Money Back Guarantee”. With the LNA in line, it works, but I suspect a DIY turnstile would perform better. Aesthetics matter at home though the QFH is tidy, non-intrusive, and keeps the neighborhood happy.
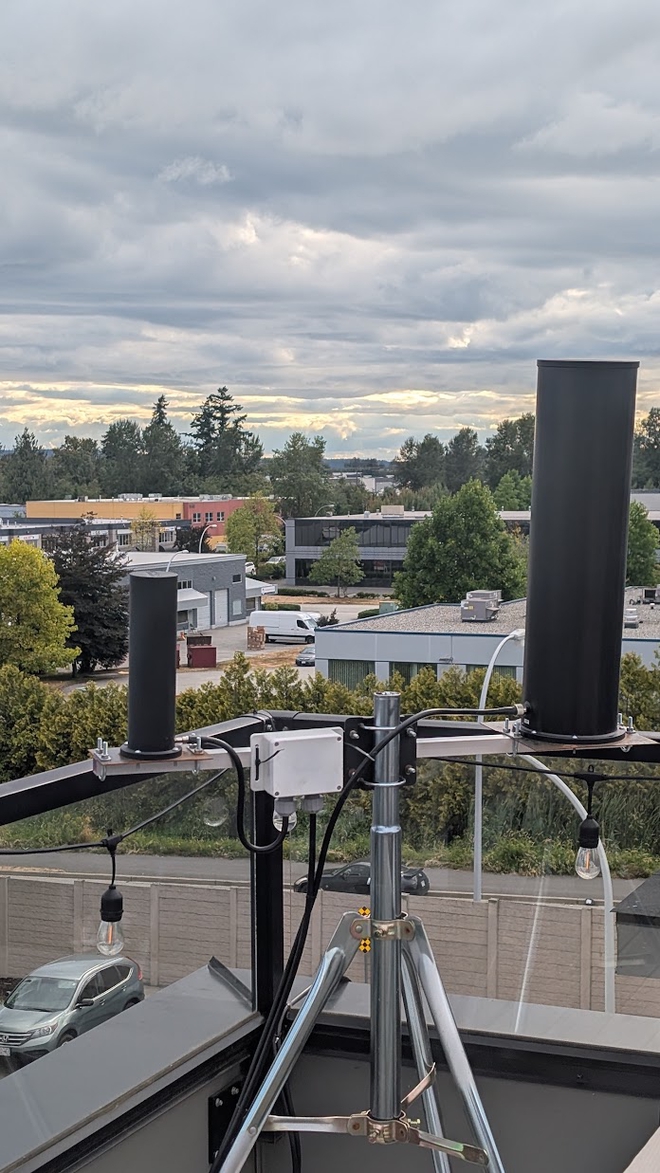
You can see how the antenna + LNA performed during an International Space Station pass:
Field test: what rain taught me#
BC gave me two consecutive rain days and the LNA did not appreciate the humidity. After water worked its way in, the LNA stopped working and I pulled it down thinking the worst, burned ICs. The good news: once it dried out, the preamp came back to life with no permanent damage.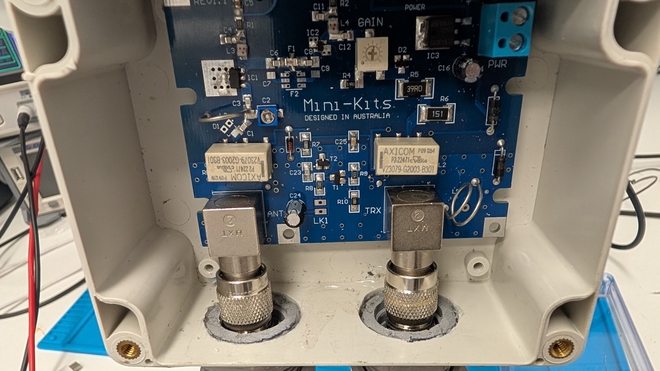
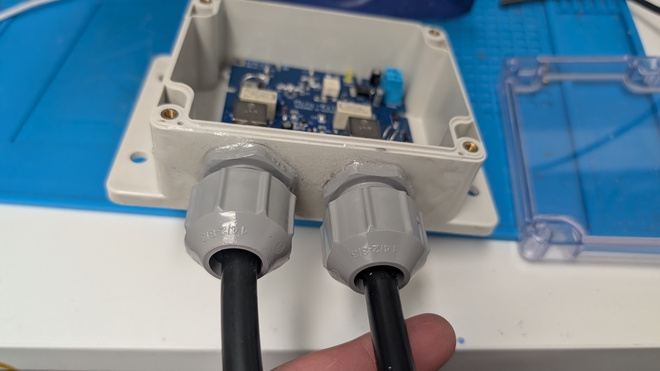
Next steps: add pigtails to the antenna and RF Out of the LNA using LMR-240, use the enclouse that comes with the Kit + Add a Faraday Cage to reduce the noise.
